« Beginner’s knowledge for tube fans »
The allure of tube amplifiers remains undiminished, captivating both musicians and audiophiles with their natural, warm sound. Yet, newcomers and those with less experience often hesitate to embrace the power of tubes. Too complicated, too fragile and somehow sensitive – that’s how tube amps are sometimes described. To demystify the inner workings of tube amplifiers, we will take a look at the fundamental components of an amp. We want to work our way from the “inside to the outside” and follow the current through amplifier components like electron tubes, soldering strips, transformers and capacitors. Enjoy our little anatomical journey!
Basics – before we start
Before we begin our journey through the inside of an amplifier, let’s briefly and superficially describe the basic functions of an amp. After all, what good is an inspection of the individual parts if the big picture is unclear?
What does an amp do?
Fundamentally, an amp performs precisely as its name suggests: it amplifies an electronic signal. Via diverse components and circuitry, an initially minute and feeble electrical signal gets captured and intensified for eventual output through a playback medium (speakers, headphones, etc.) toward the signal chain’s conclusion. During its passage through the amp, the signal is consequently modified, adapted, and balanced in assorted manners – thus, amps shape the tonal and sonic attributes of the resulting signal.

While hi-fi amplifiers aim to achieve an exceedingly neutral sound, instrumental amplifiers deliberately introduce timbres. This intentional addition fosters the creation of distinctive sounds, akin to those renowned Fender or Marshall amps produce. Whether examining a hi-fi or instrumental amp, a distinction emerges, yet the fundamental construction of both devices remains identical. With this broad understanding in mind, let’s embark on our journey and commence right at the inception – the signal input.
Amplifier components in detail – the journey through the inside of a tube amplifier
Let’s begin our journey through the tube amp and look at the individual amp components that the current encounters on its way.
Input socket
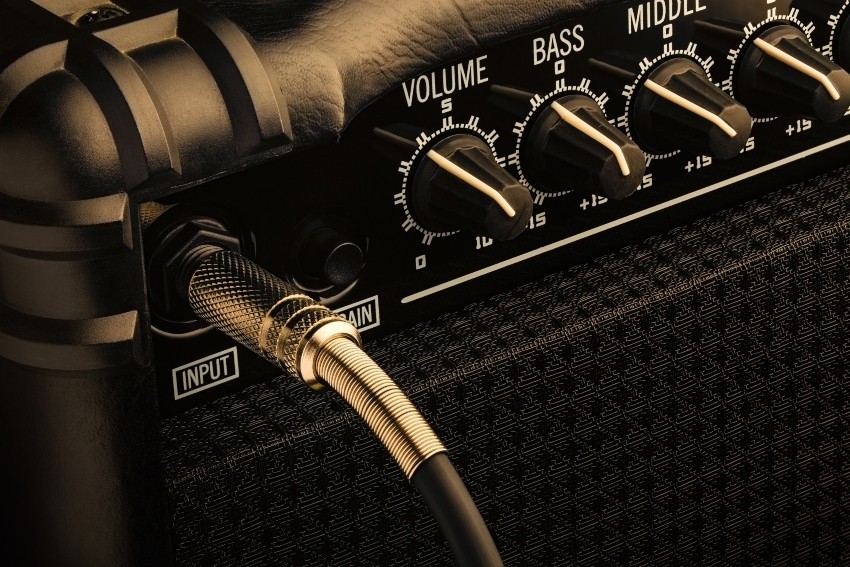
Whether instrumental amplifier or hifi amp: All amplifiers receive the signal to be amplified from a source. It is irrelevant whether this is a record player or an electric guitar. The very weak current, analog in the case of pickup systems, enters the interior of the amplifier through an input jack. Equipped with two poles, these amplifier components can be thought of as small sockets to which the signal is applied.
Pre- and power tubes
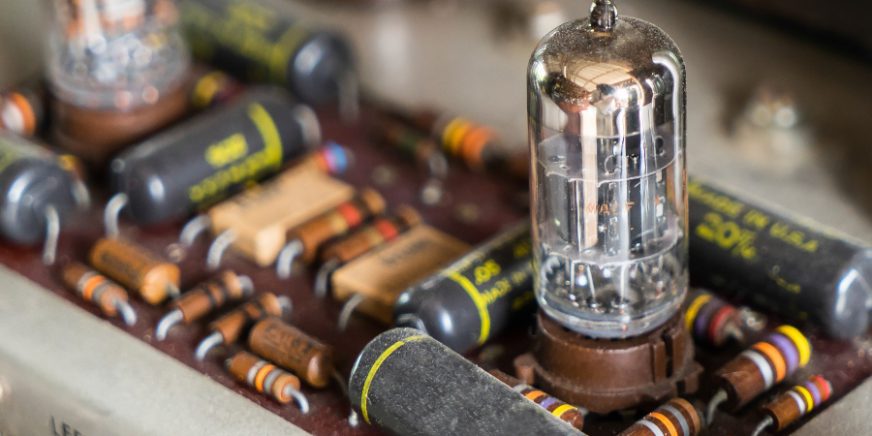
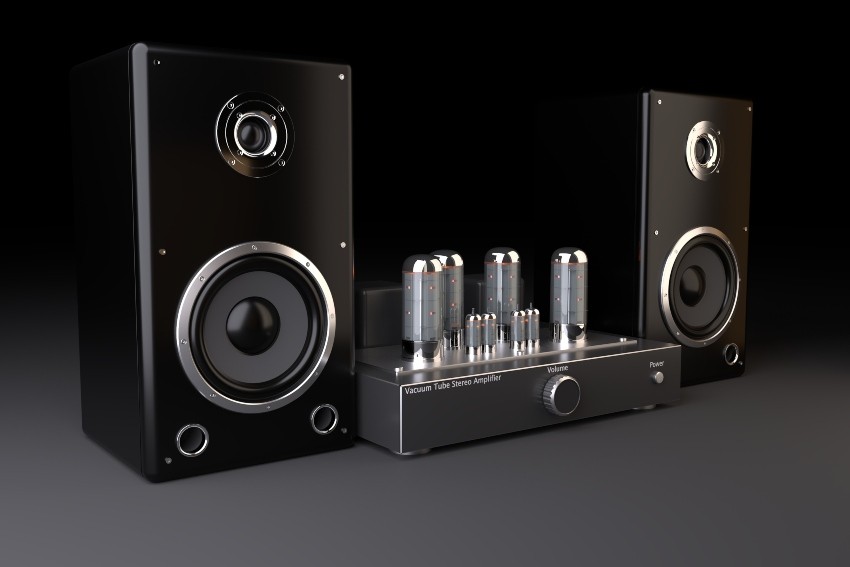
The core of every tube amp are the electron valves. Classically built guitar amplifiers, but also hi-fi amplifiers, work with pre- and power amplifiers. As a rule of thumb:
The preamp modulates the sound, the power amp provides the necessary power.
But how does an electron tube function? The core principle is swiftly explained: A small tube (known as the cathode) is heated by a voltage generator (“heater”) and made to glow. This warmth prompts the emission of electrons, which are then gathered by a positively charged anode. In transit to the anode, these electrons navigate a grid also bearing negative charge, designed to impede their passage. Through voltage manipulation across the grid, it becomes possible to regulate the volume of current coursing through the tube, thereby impacting the output power. Due to the heat and current prerequisites, tubes experience wear and tear. Yet, rest assured: tubes last for a significant duration, and substituting an electron tube is slightly more complex than changing a light bulb!
Capacitors
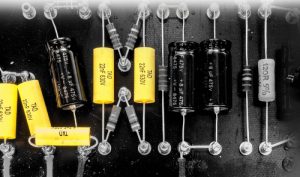
Capacitors are situated at multiple locations within an amplifier and serve to stockpile electrical charges in the power supply, effectively counterbalancing charge spikes and drops. These amplifier components operate purely passively and are attached to special soldering strips inside an amp, allowing them to be easily positioned. Given the ongoing current flow, these amplifier elements also undergo wear. The side effects of capacitors nearing the end of their lifespan manifest as feeble signals, noise or hum, and, eventually, complete death of sound. To replace a capacitor, proficiency with soldering irons and requisite measuring tools is necessary, as defects can rarely be detected from the outside.
Diodes
Diodes are also passive amplifier components, which are installed in different places inside a tube amplifier. They act as rectifiers like a “valve” for current flow, allowing current to pass in one direction but blocking return flow. Used internally, the diodes act as rectifiers. In other words, they convert alternating current into direct current and thus supply the respective components with the necessary voltage.
Optocouplers
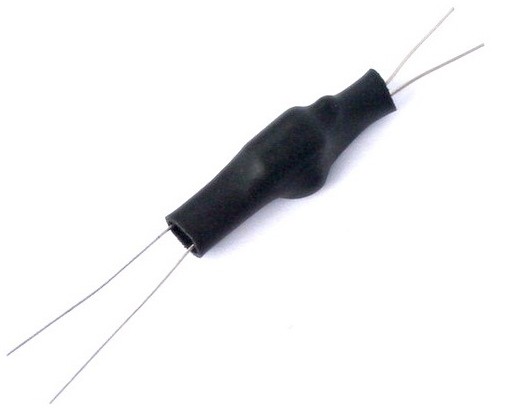
These passive amplifier components transmit signals in two distinct systems. Although optocouplers are relatively intricate due to their makeup of LEDs or bulbs and light-sensitive resistors, they enjoy a reasonably long lifespan. Optocouplers also find use in tremolo or vibrato applications. In case of malfunctioning optocouplers, one would likely experience bothersome noise or complete failure. Just like other passive components, identifying a defect without proper measuring tools is nearly impossible. Substituting LEDs and photosensors is a task best tackled by musicians equipped with soldering irons and ample patience.
Transformer
Within a tube amp, a diverse range of amplifier components function at varying voltages – hence, a transformer or voltage regulator is employed to uphold the essential voltage. Transformers come in varied designs and cater to distinct elements within the amp. As amplifier components, they impact the mains voltage’s input signal; in reverb driver transformers, the goal is to provide the accurate voltage for reverb units. A faulty transformer halts current transmission, causing complete reverberation system failure – replacing it typically demands some prior experience.
Fuses
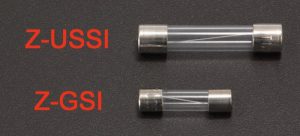
They are used wherever electricity is used: fuses are essential amplifier components and serve to ensure the safety of the user and the installed components. The fine-wire fuses installed in amplifiers have a fine wire that burns out and breaks the circuit if the current is too high. If the amp stops running from one moment to the next, a fuse is often to blame. Measuring devices help in the search for the culprit!
Power supply
Nothing will come from nothing – in order to amplify the signal, guitar amplifiers need power. Especially the tube heater and the cathode want to be supplied with current. Power supplies use the provided mains voltage and take the current from the socket. Especially with heavy use, power supplies can be damaged – a replacement requires some experience, but can be accomplished!
The inside of the tube amp – active, passive and lively
We hope that our brief exploration into the inner workings of the tube amp has shed light on certain components and functions that contribute to the amp’s enigmatic allure. One principle remains constant: myriad tiny components collaborate, whether actively or passively, to ultimately produce an organic and lifelike sound portrayal. Swapping electron tubes poses a minor challenge and is manageable for nearly everyone. However, delving into more profound diagnoses and repairs necessitates practice and expertise!
___________________________________________________________________________________________________________________________
Image sources:
Title image: © junce11 – stock.adobe.com
Guitar leans against amplifier: © SANKOWSKI.IT – stock.adobe.com
Valve amplifier with loudspeakers: © Vitalii – stock.adobe.com
Guitar amplifier input jack: © Cagkan – stock.adobe.com
 Tubeampdoctor Magazin
