« The DIY Guide for Guitarists »
If the pickup is defective or if fine-tuning is required, some guitarists might get cold feet because working on their own instrument is often a delicate task. However, when it comes to installing and adjusting humbuckers, we can provide reassurance because even inexperienced DIYers can handle this assembly task with our guide. In this article, we explain how to install a humbucker and address the question of why it can make sense to replace them, not just due to a defect.
How to install a humbucker – Installation Guide
Repairs or other interventions on your own instrument are tasks that many musicians understandably approach with respect. But don’t worry: With our installation guide, replacing the a humbucker is quick and easy! Before we begin with the guide, you need to have the basic requirements in place. Your workspace, equipment, and tools must be ready before the work can commence.
Workspace
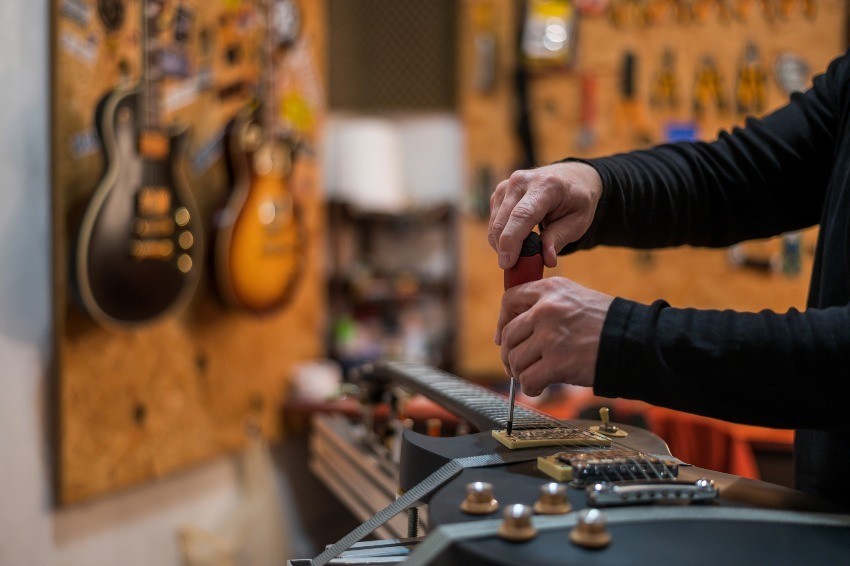
Working inside the guitar requires not only a calm and clean working environment but also sufficient space and lighting. It can be surprising at times to see the contortions you might have to make during the work to position all the cables, capacitors, and potentiometers correctly. A spacious workbench with a soft instrument rest is essential. Additionally, having a neck holder for the guitar is recommended. This way, the precious instrument stays securely in place.
Required Equipment
In addition to the new humbuckers, the necessary accessories must not be forgotten: pickup frames, height adjustment springs, fastening screws, sufficient cable length, and any necessary electronic components should be sorted and laid out neatly.
Before we get started with the installation instructions, let’s have a look at the tools needed for the installation:
- Screwdriver (Phillips and slotted)
- Pliers
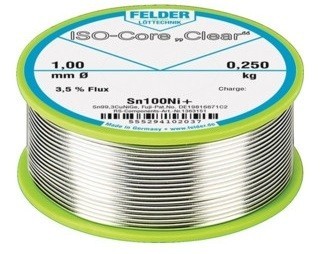
- Solder and flux
- Tweezers
- Masking tape or adhesive tape
- Clean, soft cloths
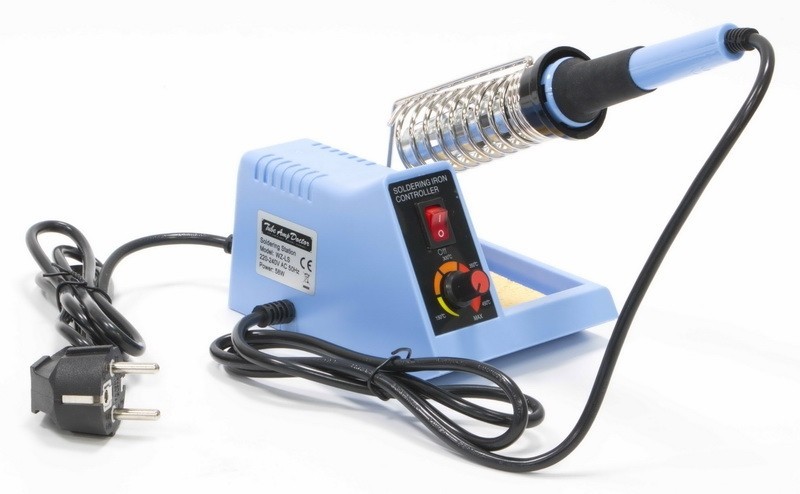
- Soldering iron
- Soldering station
How to install a humbucker – Step by Step
Caution: In the following installation instructions, we assume that the newly installed pickups are classic humbuckers that are neither wired out-of-phase nor equipped with coil-tapping functions or similar features.
Step 1: Preparing the Guitar
Before starting any work in this guide, the instrument must be prepared. To do this, remove the strings from the guitar and open the electronics compartment.
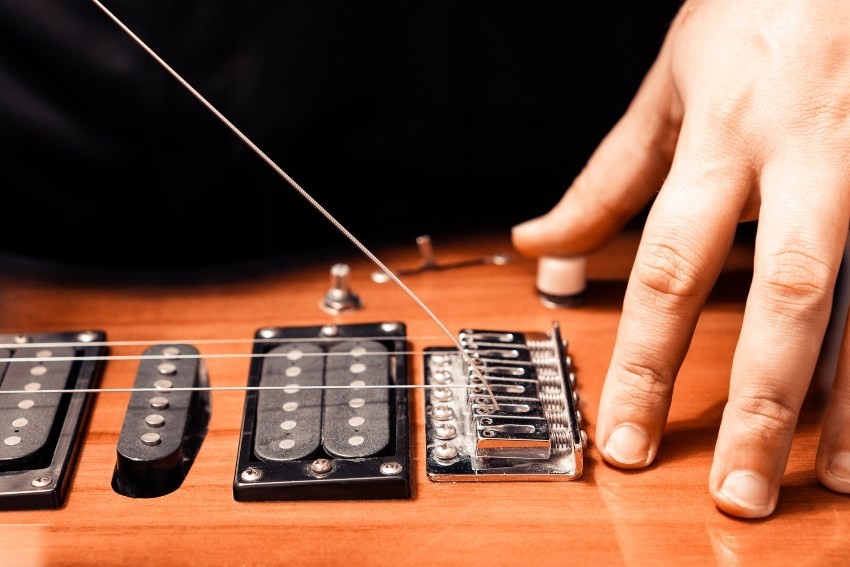
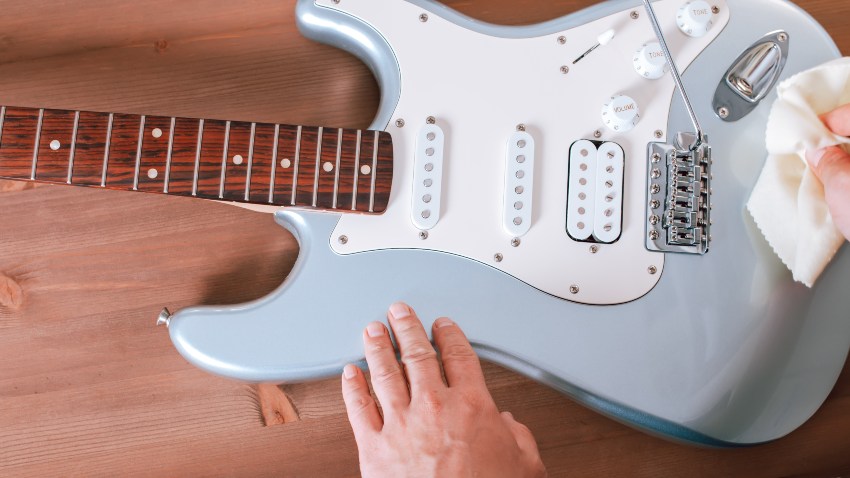
Important: For safety, one or more photos of the wiring of the previous guitar transducers should be taken. This will help solve any potential puzzles later on. It is advisable to protect the instrument from accidental damage during the work. To do this, soft cloths are attached to the neck and body using fine masking tape (tape that leaves no residue). This helps prevent scratches from tools or potential solder spatter.
Step 2: Removing the old humbucker
Once the instrument is prepared, the old parts can be removed. To do this, heat the existing solder connections in the electronics compartment of the instrument and carefully remove the leads of the humbuckers. It is advisable to absorb the liquid solder with a desoldering wick or braid.
Especially when the electronics are to be reused, caution must be exercised when working with the soldering iron. If components become too hot, transistors and other parts may be damaged.
Once the connections are released, the humbucker wires are pulled through the inside of the guitar and removed along with the frames from the guitar. Now, the screws with the humbucker springs must be loosened.
Step 3: Insertion and Test Fitting
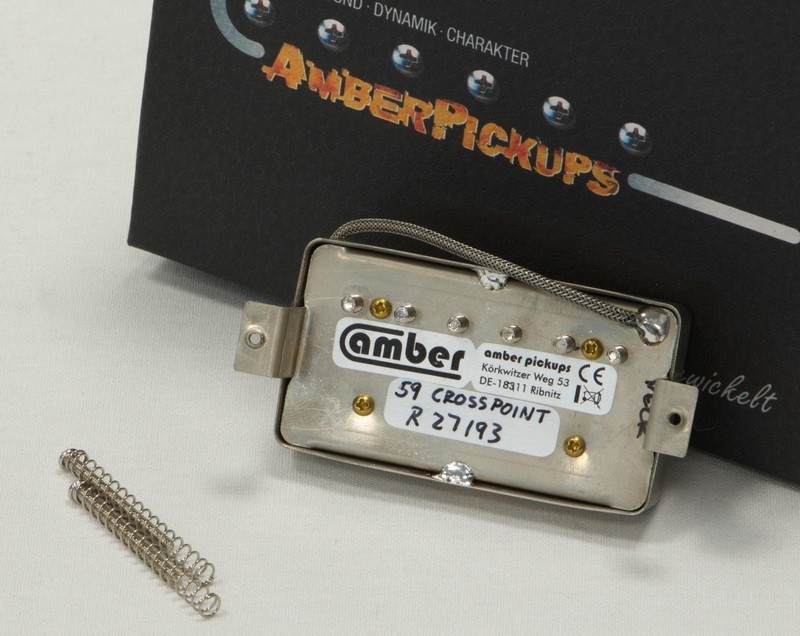
Before the new humbuckers are soldered in place, they must be inserted into the prepared frames. To do this, the humbuckers are placed in the frames with their “legs,” and the long humbucker screws are inserted into the frames. The long springs are placed over the screws, and then the humbuckers are firmly attached to the frames. This somewhat delicate task is best accomplished with the pickups on a solid surface and a great deal of patience.
Once the frames are fitted, it is advisable to test the assembly on the instrument. Generally, the routings for the humbuckers are roughly the same size – but there is no one hundred percent guarantee. So, before using the soldering iron, make sure they fit correctly!”
Step 4: Installation in the Instrument
If everything fits, the humbucker leads can be routed into the electronics compartment. Then, the humbucker frames are attached to the guitar body, securing the humbuckers in place.
Step 5: Soldering Work
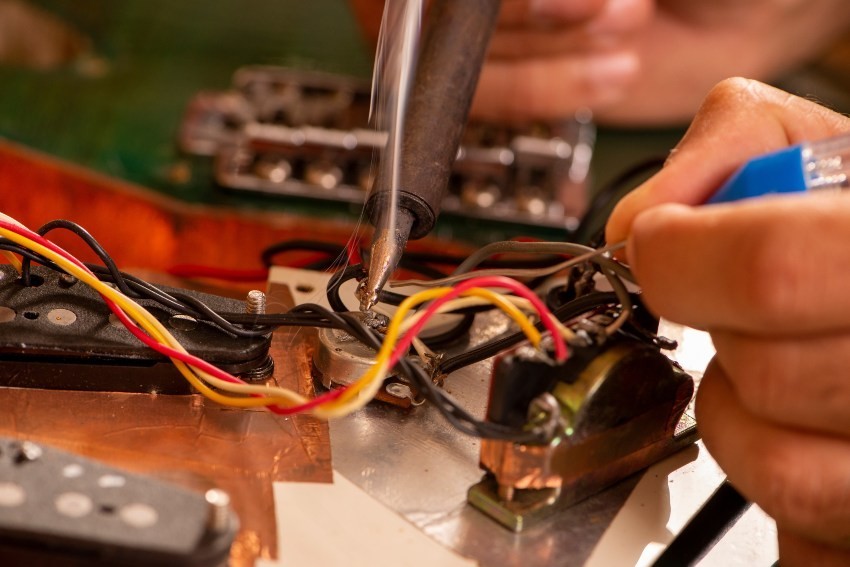
This step in our guide is the most challenging and crucial part of the work. Soldering freehand requires a lot of practice and experience. Soldering the humbuckers leads varies depending on the circuit design and should be researched individually. When soldering, it’s essential to ensure that the solder joints are secure. Cold joints or blobs of excess solder must be avoided at all costs. It is helpful to secure the humbuckers with the help of pliers or clamps.
Step 6: Conclusion and Testing
Once all the connections are made, the most challenging part of the instructions is completed. For safety, it’s advisable to check the integrity of all solder joints and test all circuit variations on the guitar and amplifier.
Finally: Adjusting the Humbuckers
After successful installation, it’s necessary to adjust the new pickups. The height of the pickups significantly influences the sound of the instrument. In addition to the type of pickup, the properties of the strings themselves also matter. Depending on their mass and material, even a few millimeters can make an audible difference. This is similar to the distance from your mouth to a microphone: the closer the string is to the pickup, the louder, more dominant, and distorted it sounds. When it’s farther away, you get a quieter, softer sound.
Each pickup typically comes with installation instructions, which usually include guidance on the optimal humbucker height. To adjust the height, you need to turn the spring-loaded screw on the pickup frame. Many pickups are also equipped with adjustable pole screws, which allow for individual adjustment of the humbucker for each string. Adjusting the pole screws works similarly to adjusting the overall height: the screws are individually adjusted in height, which alters the contribution of each string to the overall sound. However, there is no perfect guide for adjusting Humbucker pole screws – only those who experiment and test extensively will find the ideal position.

Replacing Humbuckers – But Why?
Replacing a humbucker is something many guitarists find daunting, even with instructions. Especially when it comes to high-quality instruments, the thought of tinkering with the delicate electronics of the instrument can be intimidating, even with a guide. However, changing the humbucker can open up entirely new possibilities.
Faulty Pickup
Certainly, if a pickup is broken, a replacement must be procured. Rarely can defective pickups be repaired, and especially when coils are damaged, they are almost always economic write-offs. Restoring the original sound without any changes is nearly impossible. Defective pickups can manifest themselves through signal loss, significant interference, or intermittent connections.
Sound Variation
Different manufacturing forms and components significantly affect the sound of a pickup: While mild Alnico-2 pickups are often used in the vintage realm to imitate the sound of legendary bursts, Alnico-5 pickups or ceramic magnets are frequently employed in harder playing styles to generate more output. If the instrument’s feel aligns with this choice, it can cater to the musician’s specific tonal preferences.
Playing Character and Dynamics
Depending on the pickup used, the behavior of the instrument at the amp changes. Particularly hot pickups make the power amp break up much faster, while gentle vintage pickups are more about melodic overtones. The response to tone control, volume pot, and the overall “feel” of the instrument can be significantly influenced by a pickup change. Hopefully, we could show you how to install a humbucker so you will be able to perform this task with ease in the future!
___________________________________________________________________________________________________________________________
Image sources:
Title image: © Kenjo – stock.adobe.com
E-guitar-repair: © – Zamrznuti tonovi – stock.adobe.com
String of an electric guitar is removed: © Вячеслав Козырев – stock.adobe.com
E-guitar without strings: © Mary’s – stock.adobe.com
Soldering work on an electric guitar: © JR Slompo – stock.adobe.com
Adjusting the height of a humbucker: © Boris Bulychev – stock.adobe.com
 Tubeampdoctor Magazin
